My Yamaha FZ6 Fazer S2 has stainless steel exhaust pipes which are in direct line of sight. As I like to keep my motorbike shiny, the looks of my exhaust becomes over time the annoying factor as due to temperature, materials on the road and in the water on the road, start to attack the material. Result is that over time the exhaust goes from nice and shiny chrome look, to a gold tiger print look. So every now and then I need to attack this in order to return to nice, new looking, chrome textured exhaust pipes. Below a description on how I do it, and what my experiences has been so far.
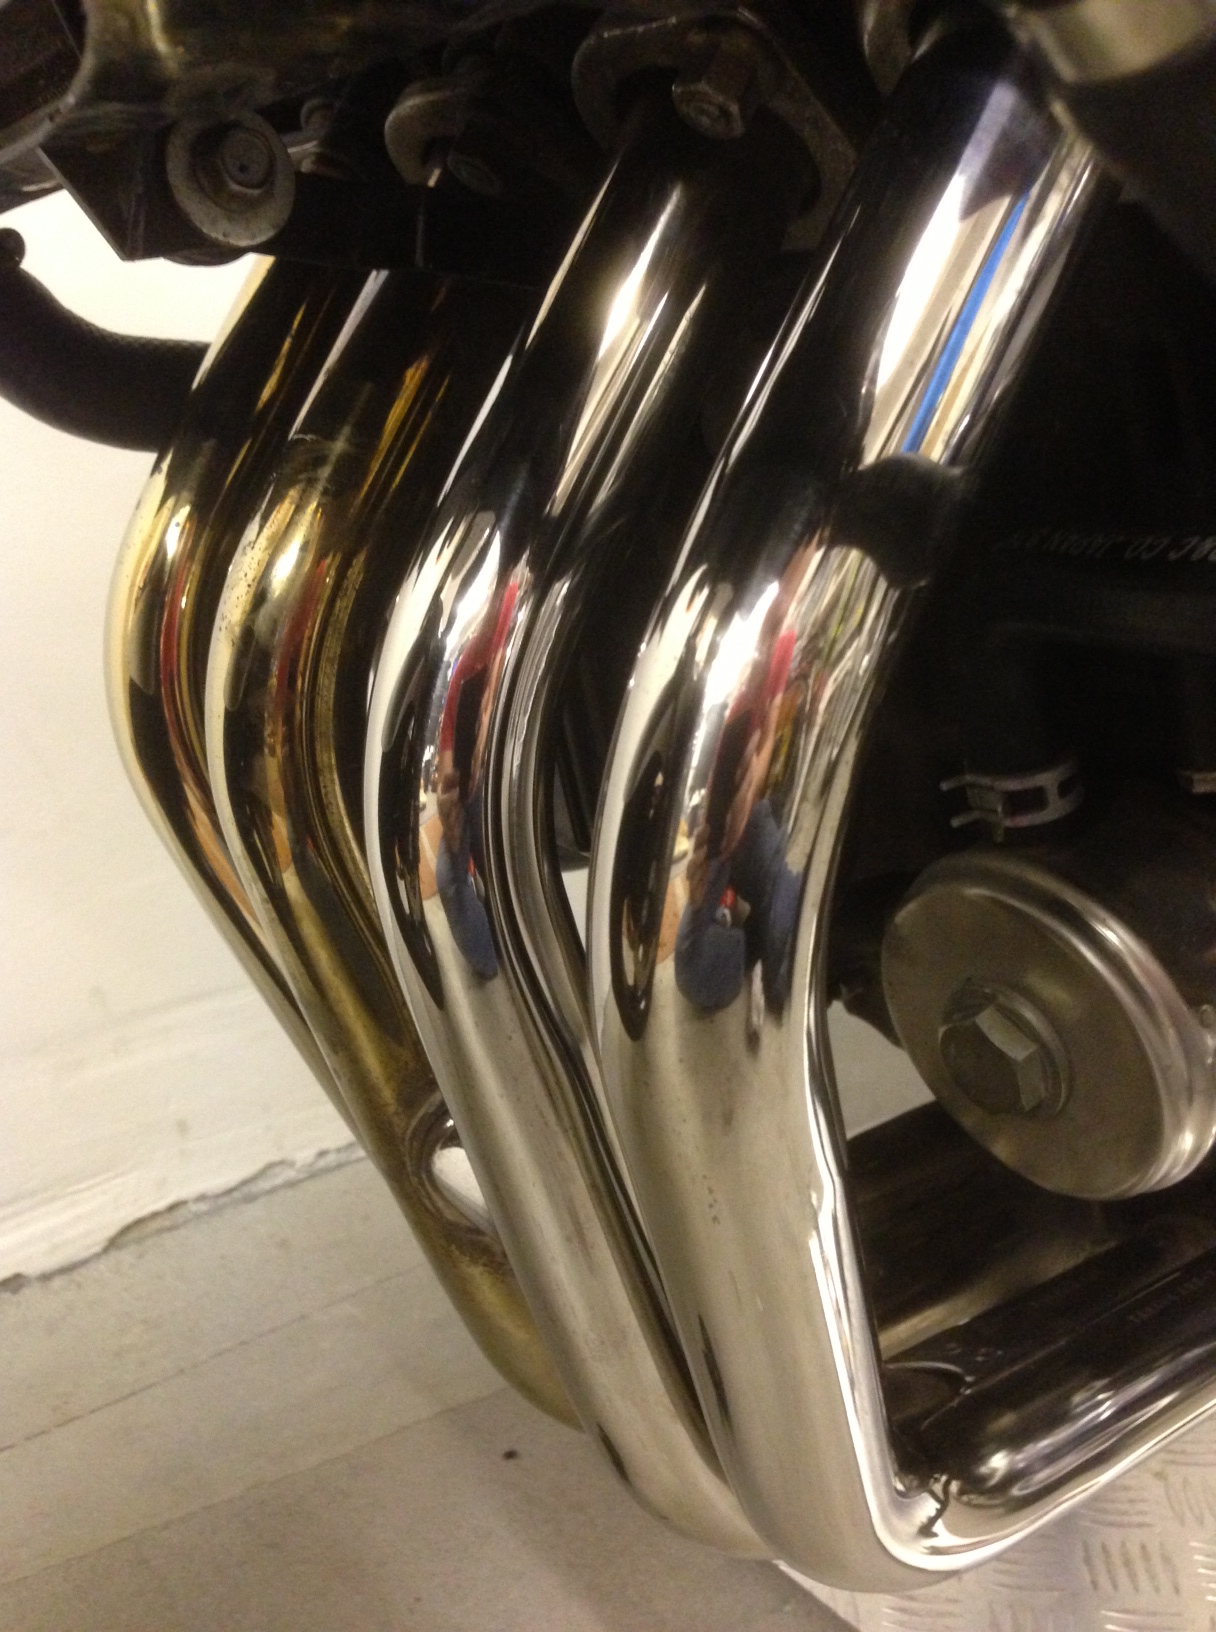
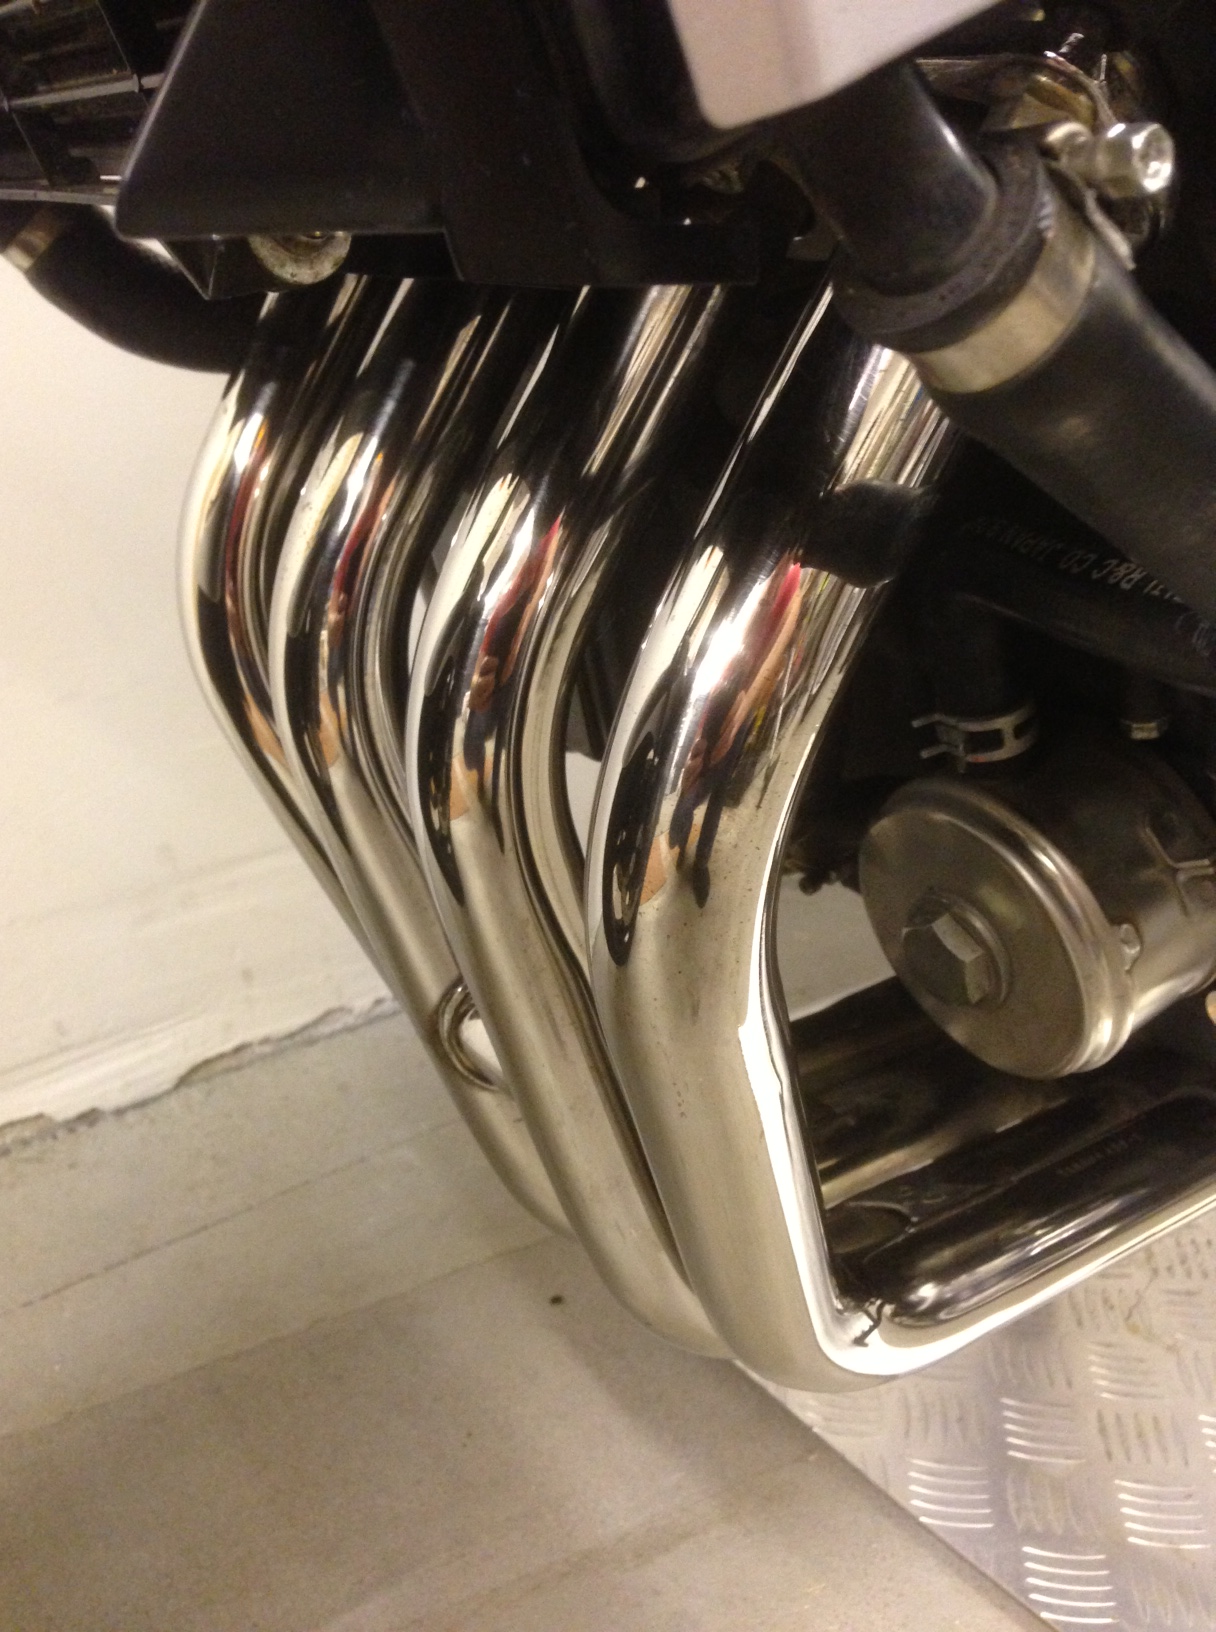
 On the right is the starting point of my polish adventure. As can be seen, there has been ingress of aggressive material (maybe remainders of salt on the roads from the winter?) as aside of a gold glow there is that nasty dark brown looking spots on the second exhaust pipe of the right. On the other side of the second pipe from the left this is also the case. I know that the best remedy is to go and maintain it regularly so that the effort does not become too big, or the state of the exhaust becomes such that it is mission impossible to return it to a nice and good looking one. And as soccer game was on television, it was a good time to start and do this dirty job 😉
First some words to the background of the coloring of stainless steel exhausts. As written above there is the influence of temperature. Although one might think that stainless steel does not rust, I have to pull you out of this dream. Stainless steel does rust. Forming of rust is that the material (in this case steel) reacts with oxygen in the air, a process which is called oxidation. The nice part of stainless steel is that this oxidation layer becomes a kind of protection against further rusting. Adding the factor of temperature to the mix results in the coloring of the exhaust. There are different temperature ranges which lead to different coloring. Here a little table for illustration:
- 290C-350C / 550F-660F: yellow to dark yellow
- 350C-400C / 660F-750F: dark yellow to brown
- 400C-450C / 750F-840F: brown purple to dark purple
- 450C-550C / 840F-1020F: dark purple to blue
- 550C-600C / 1020F-1110F: dark blue
With foregoing table you can spot the temperatures your exhaust is reaching. It also explains that when driving a lot on high speed, there is more purple / blue at the beginning of the exhaust pipes, and when having milder driving conditions your are more on the yellow / brown side of coloring. Also the color get more intense over time as the layer of “rust” gets thicker.
The dark brown spots are also chemical reactions of the stainless steel surface, but instead of oxygen other materials are have a chemical reaction with the stainless steel surface. From the location and the pattern it is most likely junk on the road which mixed with rain and gets sprayed onto the exhaust. Examples I can think of are salt used to prevent icy roads in winter time, or minerals out of soil when driving on little roads also used by farmers’ tractors. These spots are more difficult to get off, but it is doable with determination and patience.
There are different ways to return the looks of stainless steel exhausts to how the looked when they were new. The principle is to remove the corrosive layer. If you do not want to get too much dirty hands then you could go the chemical route. This means that a fluid is put onto the exhaust, and that this fluid is going to etch off the oxidation. As these fluids are very aggressive to other materials, including surface treatments and paint, this route (in my opinion) only makes sense when removing the stainless steel exhaust from your motorbike and do the chemical treatment away from precious materials on your bike. There are a lot of suppliers of these chemicals as they are also available for for instance kitchen equipment. I use the chemical method when the degree of oxidation is big. I have tried it on my bike when the exhaust was still mounted; I used a painting pencil to put the fluid on and had protected the rest of the intermediate components with plastic. It did do some good; the gold coloring vanished away, but the dark brown “rust” spots stay. I had used specific chemicals from the Louis.de shop, and the label did say that it removes coloring of the stainless steel pipes … which it did, but not the nasty tiger print spots.
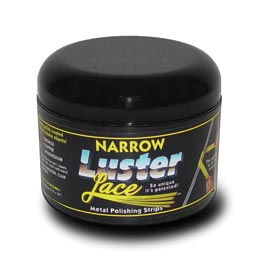 The other way of removing the oxidation layer is by polishing. The advantage is that polishing not only removes the coloring (like with chemical cleaning described before), but it also removes the “rusty” dark spots. Also here there are a lot of different materials market to use. In my cleaning job this time I used Luster Lace, and after having done that I used Autosol Stainless Steel Polish. The Luster Lace is a 40cm / 16″ lace which has been drowned in polish material. The principle is to put the lace once, preferably twice around your exhaust pipe and then move the ends back and forward. This way good force and movement is applied to let the polish do its job to rub off the rust layer.
 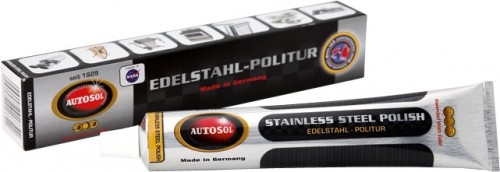 It does not go very quick, but it works. You will quickly see that the yellow colored laces turn dark grey. In order to maximize the use out of a lace, I will apply some Autosol paste on the exhaust when noticing that the Luster Lace has reached the end of it polish capability. Then when wrapping around the dirty Luster Lace and moving it back and forth will do the final job of getting the remaining oxidations off. After done use a cloth to remove the polish and polish residues from the exhaust pipe.
 Here on the right you can see the result after approx. 35-40 minutes of polishing as described above. So you can count on roughly 15-20 minutes per exhaust pipe. If you want to prevent dirty hands, as polishing results in very fine metal particles which settle in the pores of your hands and are very difficult to wash off, you should wear latex gloves. The gloves will on top prevent the forming of blisters on your fingers.
 1 hour and 15 minutes after start, and having had a tea in the meantime, my stainless steel exhaust looks again like new. Being satisfied with the result, and even more with having finished this dirty job, time has come to go with a clean cloth over all pipes to remove polish remainders, greasy fingers, and what more. A good hint is to use the lace principle for doing this final cleaning: so wrapping strip of cloth around the exhaust and using back and forth moving of the ends to clean.
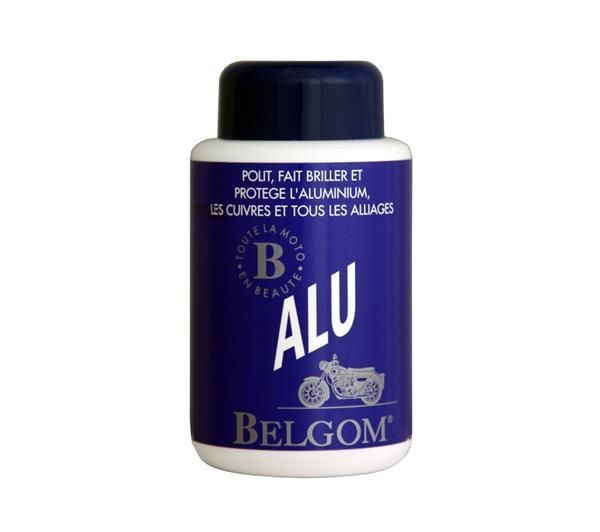
A final word on alternative ways. First of all I also use sometime another polishing material than Autosol Stainless Steel Polish: Belgom Alu. Belgom Alu is normally used to polish aluminum but works well for stainless steel. I have used it in the past for the same exhaust, but found Autosol working slightly better … a matter of opinion as others have the opposite opinion.
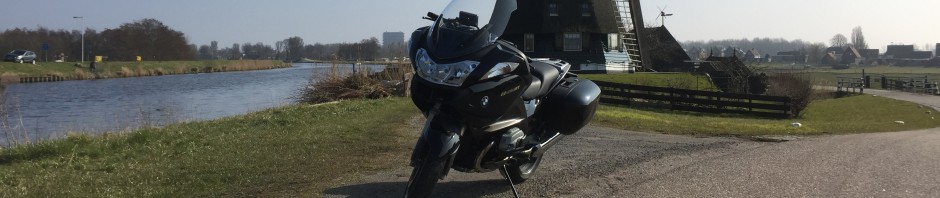
During a motorcycle exhibition I also have purchased a polisher called Peek Metal Polish. It works same as Autosol Stainless Steel Polish and Belgom Alu. I have tested it on 2020.05.24 for polishing the chromed stainless steel exhaust on my BMW R1200RT, and that worked fine; doing both exhaust pipes took about 45 minutes and I will make a new blog post on it.
 Second, a cheap mans’/womens’ way to polish effectively is to put either Autosol or Belgom polish paste on normal stripes of cloth instead of using (expensive) Luster Laces. You will need to make a few folds of cloth to have enough cloth strength. I also used this method in the past before having found the Luster Laces.
When not wanting to make stripes for polishing, but rather want to go use a cloth to rub/polish with Autosol or Belgom polish paste, then I can advise to no be tight on the use of polish paste. The polish paste is one of the components who does the work for you, and applying too less means you are rubbing without much result. Also swap frequently to clean areas of your cloth; the residual polish paste with oxidized stainless steel with quickly saturate your cloth. Continuing to rub from the dark black and saturated part of your cloth will be less effective compared to using a fresh, clean and not saturated part! Another tip is to use cloths made from shirts having high content of polyester: it help the rubbing as it is less “soft” than cotton.
Here you can see another example of the result of polishing stainless steel exhaust pipes: Polished the stainless steel exhaust pipes of my BMW R1200RT.
Happy DIY stainless steel exhaust cleaning! And if you have any hints, tips, ideas then share them below by posting a reaction and help the biker community move forward.
Last update: 2020.06.02

Pingback: How to: Make your pipes shine like new! - Page 4 - Yamaha FZ6 Forums - International FZ6 Motorcycle Community Forum
Pingback: 2 stainless steel pipes done, still 2 to go | Tour On 2 Wheels
Thanks for the tips. My FZS600 stainless pipes have become matted so I guess it’ll take a lot more work to get those looking nice. Still think I might give it a try considering how yours look.
You could try if you are able to clean it at a spot not in sight, like underneath your engine.
The job will take some effort, but I think it is worth it.
Wishing you success and a great result!
Pingback: Tour De Force Exhaust | Go to know Everything
Pingback: Polished the stainless steel exhaust pipes of my BMW R1200RT | Tour On 2 Wheels
Good pointers, it is clear frim this that keeping on top of your cleaning is the key to success. My biggest fault is I concentrate on the mechanical side of my bike and not the cleaning side. Note to self work harder.
Very good informative piece.
Thanks
WD-40 # 000 steel wool then use a polish of choice
Hi, I am a newbie in this Polishing stuff and in a few days i shall be doing my first polishing on my exhaust pipes on GPZ500s. I find your blog really cool and helpful. Keep writing the blogs.
Thanks from Dortmund😀
Danke, you are very welcome!
I hope the cleaning and polishing worked out well.
I will try in the coming months to try out another way to polish stainless steel exhaust pipes, and that is with steel wool grade 0000 dipped in stainless steel / aluminum polish. I read about this in a Dutch forum for BMW R1200RT, but I have not had time yet to try out. And I do not want to post it before having tried it myself first. It is important to not do this without having something that “binds” the iron in steel wool as it would leave iron particles which can easily start rusting.
So keep an eye on this article.
Hydrochloric acid and nitric acid is used by industry to clean stainless steel, I just use hydro chloric as used for cleaning bricks, but NEVER get in your, it will blind.
Just wanted to say thanks for the informative and detailed post. I’ll try Autosol or Belgom on my Fz!
You are welcome!
Happy polishing to get your exhaust pipes back to new shiny state.
Pingback: Tested Peek to polish my chromed stainless steel exhaust pipes | Tour On 2 Wheels